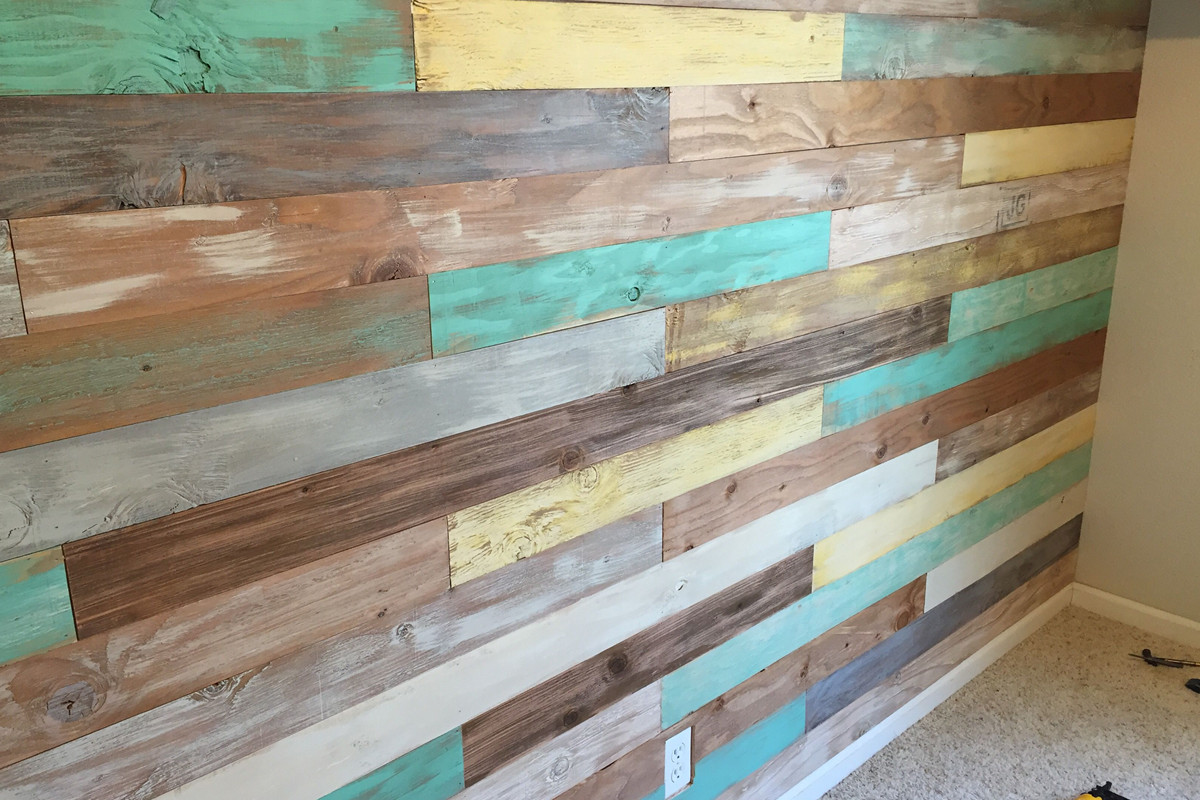
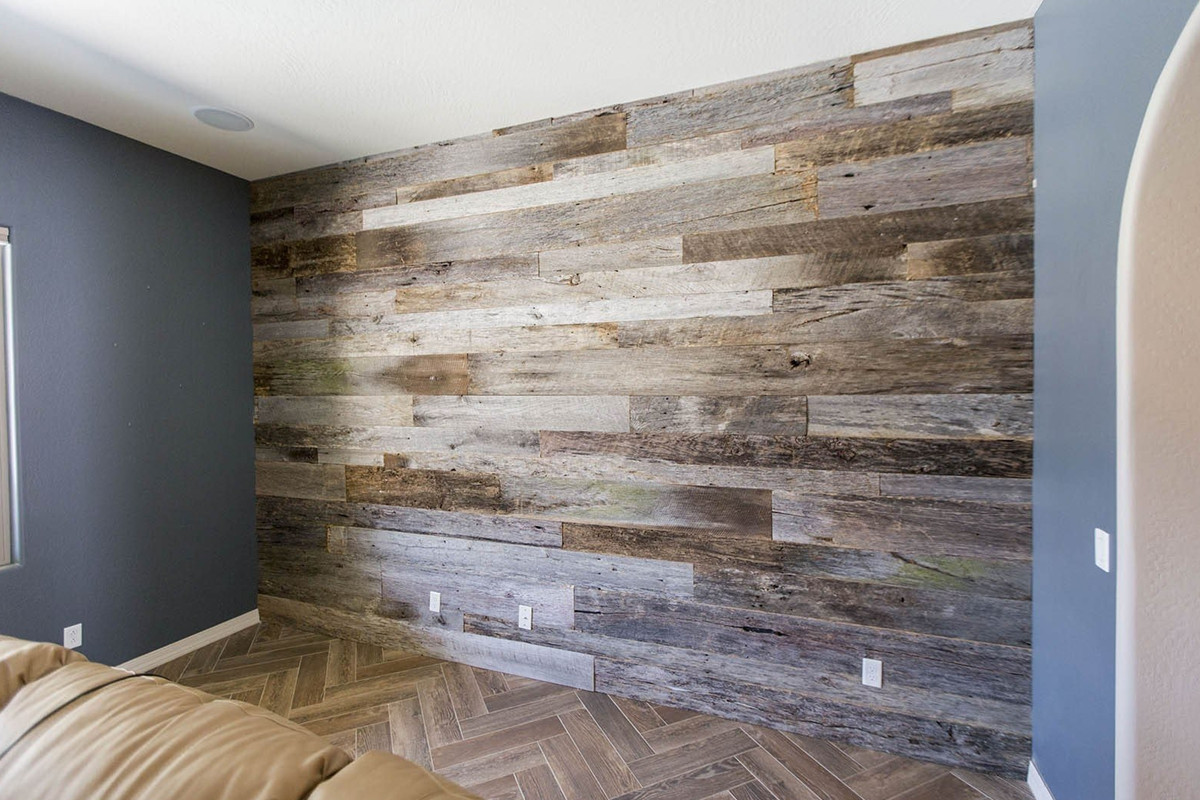
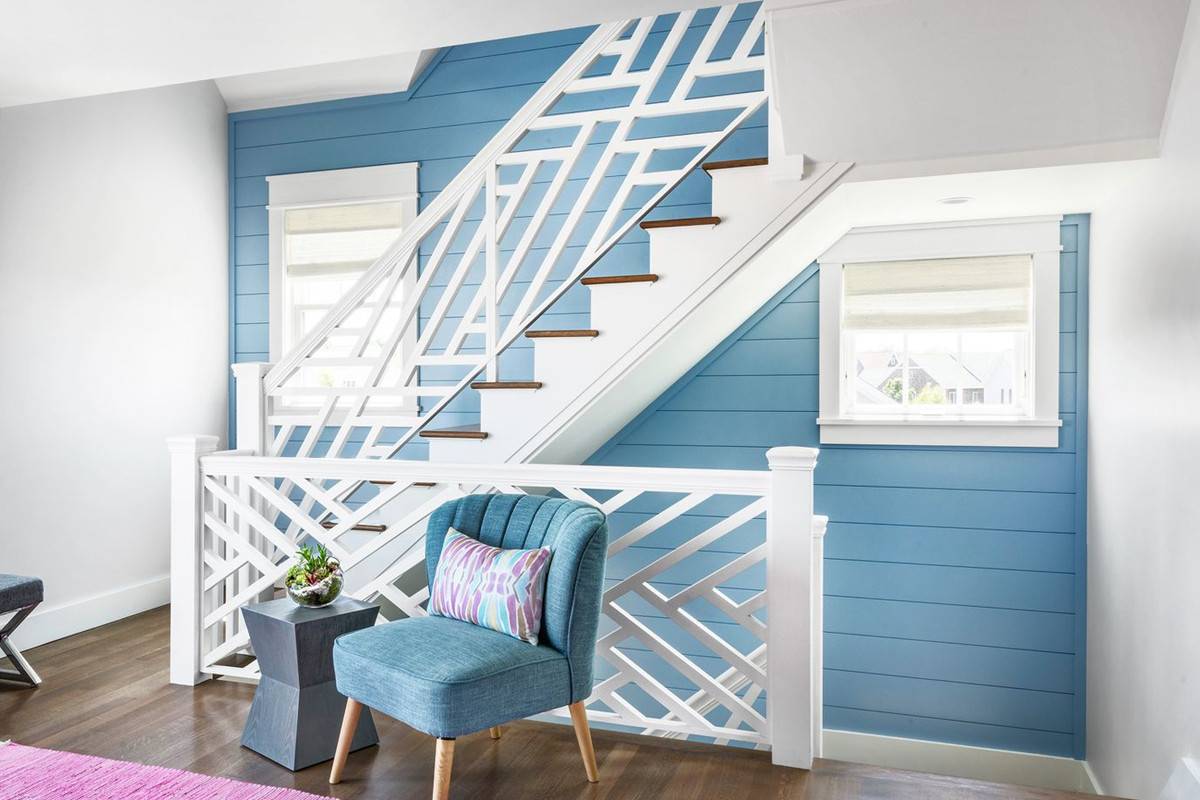
A lot of home decor is designed to be a neutral color, whereas some people may want to make their spaces stand out with colorful decoration pieces. Planking walls are a great way to do this, as they do not require paint or any other machine to create the effect. Instead, you simply need wood planks that have been painted and have been attached in an alternating pattern across a wall at different heights. The result is a wall treatment that is both colorful and unique, and one that you can easily create in your home as long as you have the know-how.
The Following Are The Steps On How To Make A Colorful Planked Wall Treatment;
Step 1. Get the planks
The first thing that you need to do is to get wood planks that are the same size and shape. The best type of wood to use is red cedar, especially if you want a natural color for your wall treatment. If possible, have your home improvement store cut the planks down to even sizes so that you won’t have to go back and forth with the saw while completing this project.
Step 2. Paint the planks
Paint the planks with your desired color. For these purposes, you can use various colors of paint that coordinate together; blue and green, red and yellow, red and orange, and so on. Use paint that is not too thick or too thin so that it can be easily attached to the wood while remaining smooth to the touch. When applying the paint, make sure you apply them in a section so that you won’t have to go back and forth with the paintbrush multiple times.
Step 3. Attach the planks
When the paint is dry, attach the planks across your wall at different heights so that the pattern is evenly spaced. You can use screws and glue for this step, but it may be best to use nails so that you don’t damage your wall. Make sure that you place nails into each plank so that all your board will look flat when finished, then put them all back together in an alternating pattern.
Step 4. Attach each plank to the wall
It’s a good idea to add a small piece of wood on the back of each plank, as this will make them easier to attach directly onto your wall with nails. You don’t need anything too thick, just enough material so that each nail will have something against which it can loop over. This will prevent the nails from being too far behind, which would make it harder to apply all of the planks in one go.
Step 5. Finish up
Fill in any cracks and holes with wood putty or paint, then seal everything up with a coat of finish compound or stain. This will allow your new wall treatment to last for many years and look great for as long as you live in your house.