Do you have a backyard, balcony, or garden that could stand to be a little more private? One way to create more privacy without major reconstruction is to plant an easy privacy trellis. Privacy trellises are versatile and can be customized depending on your needs. Below is a guide to building your easy privacy trellis;
Step 1: Gather Materials
Materials to build an easy privacy trellis include:
One or more posts
Trellis string – the type used to support grape vines works well. You can also use thin rope (as long as it is strong enough to hold up) or netting. The key is to find something that plants will not be able to wrap around.
Step 2: Find a Location for Your Privacy Trellis
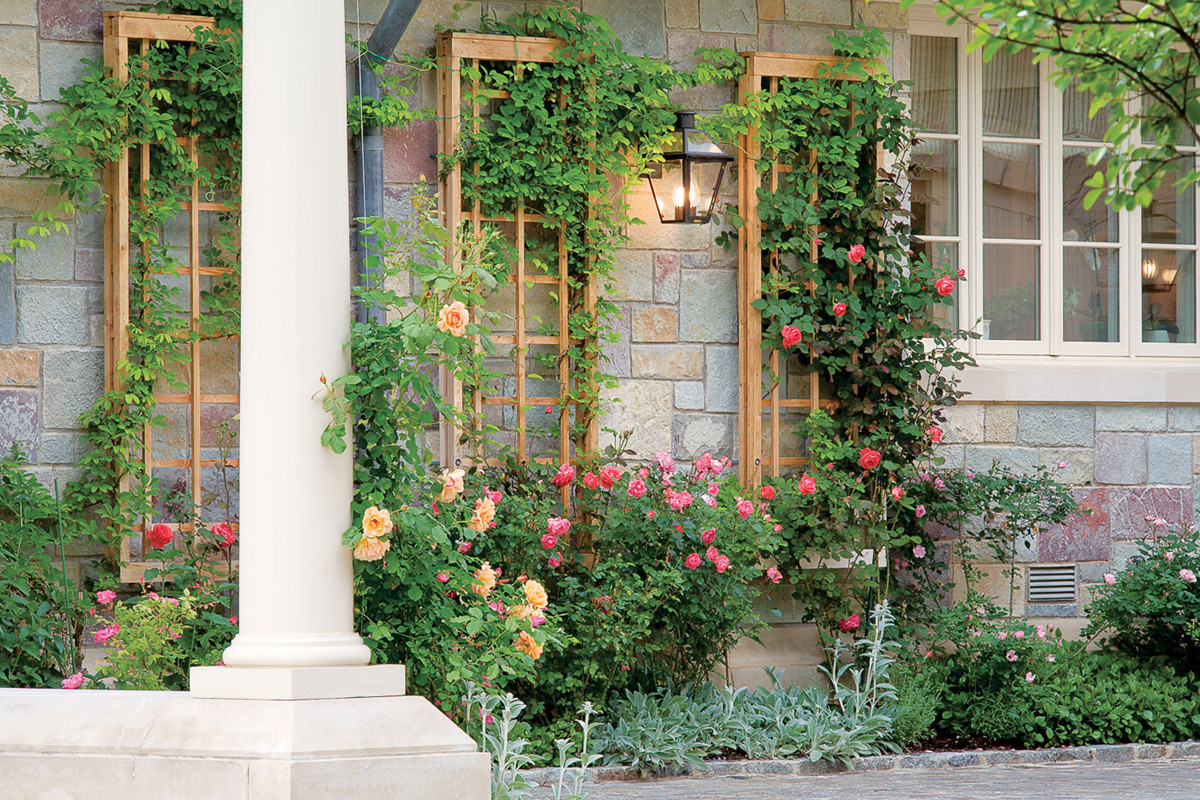
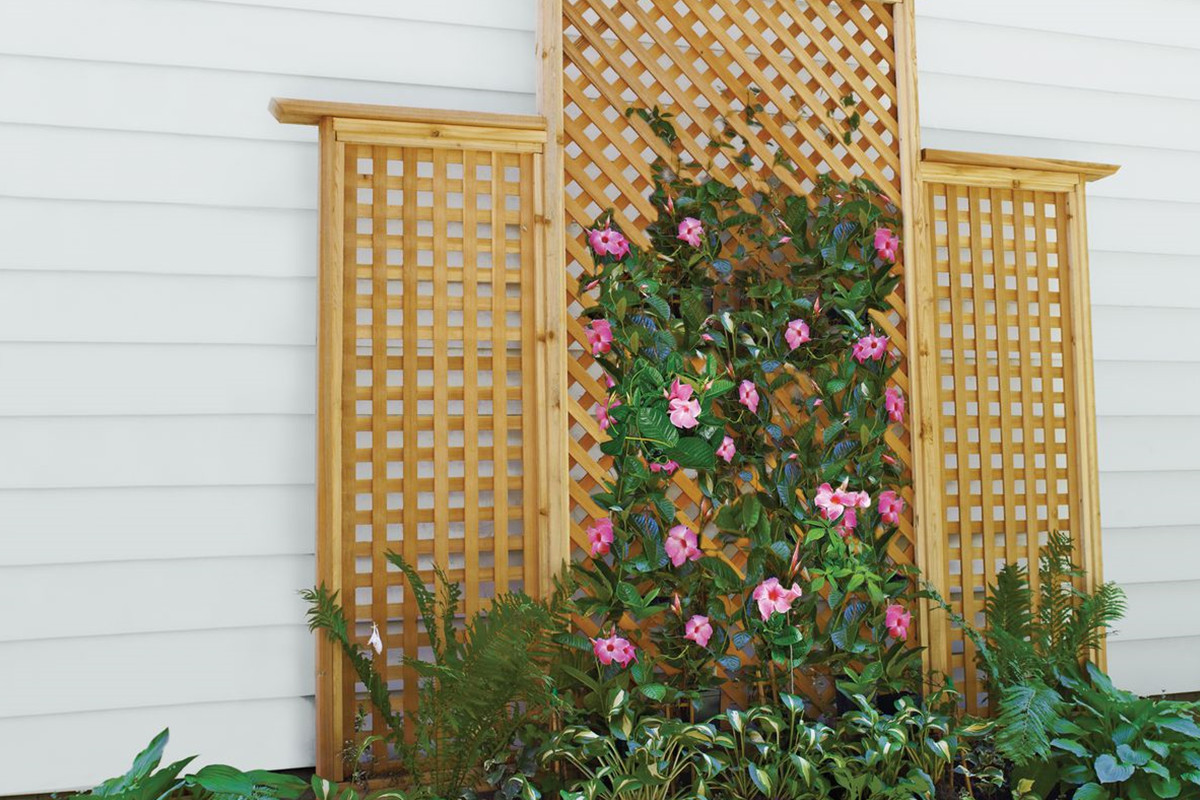
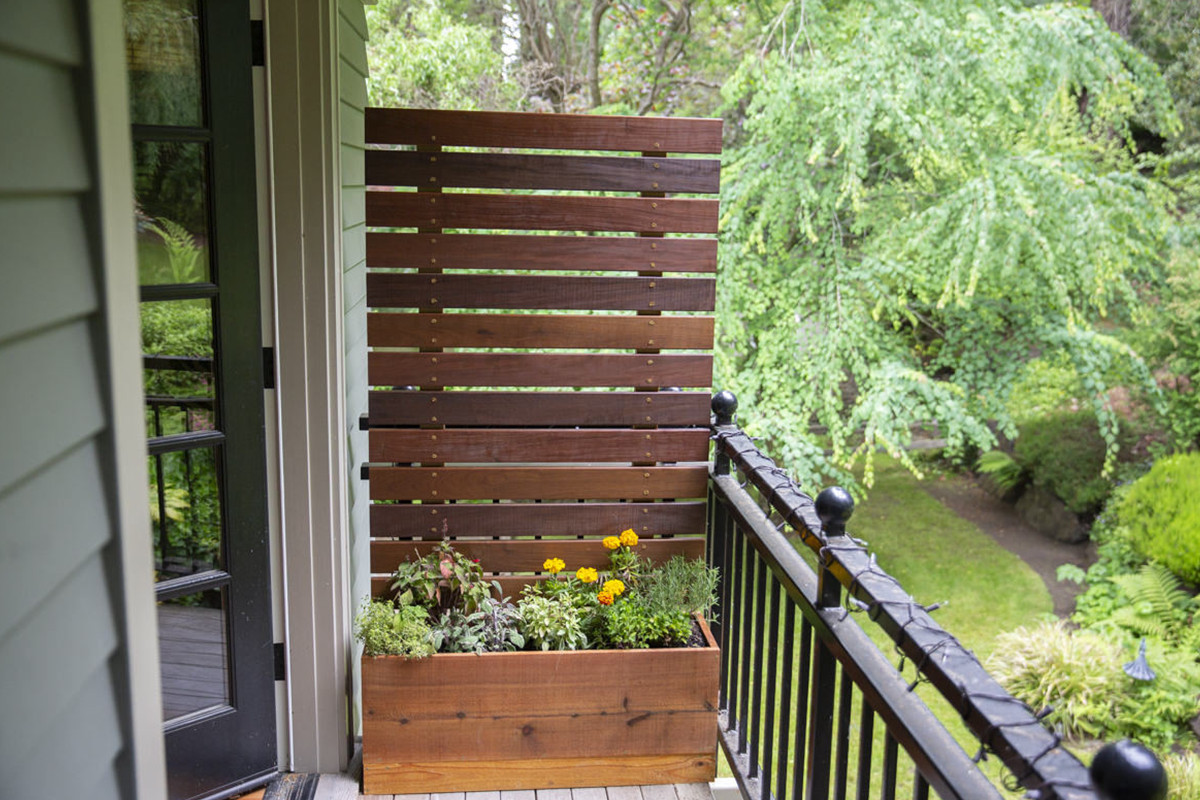
The location of your privacy trellis greatly depends on what you are trying to achieve. The ideal location for an easy privacy trellis will have the trellis close to an existing wall so masonry is not required. If you want to place your trellis in a more open area, you’ll need a support like this fence. Depending on what type of plant you choose and where your trellis will go, there are several options as far as how close you can place it to your wall or other structure.
Step 3: Lift and Attach Your Trellis String
If you are using rope to support your privacy trellis, lift your rope about two feet and attach it to the wall with some hooks, nails, or screws. When attaching it to a wall, be sure that the string is not attached higher than the plants will be able to grow. If you are mounting boards or composite materials against a wall, screw them directly into the desired location.
Step 4: Make Sure Your Trellis String is Level
To make sure your privacy trellis string is straight, do a few simple checks. First, adjust the length as needed. It may be easier to do this while the string is still on the spool. Next, stand at one end of your privacy trellis and look down the string. The string should look straight to you even if you are looking at it from an angle or standing on a slant. If the string does not look straight, adjust it accordingly.
Step 5: Plant Your Privacy Trellis
Plant your privacy trellis wherever you have decided to install it. If needed, plant your plants directly into the ground around your string (or even inside the string). Make sure to place the plants far enough away from the string that they can successfully grow into a privacy cover.
Step 6: Enjoy Your Privacy Trellis
Enjoy your privacy trellis and watch it grow. While the string may appear to be sturdy enough at first, it is still a string and will need to be replaced at some point. But don’t be discouraged, a privacy trellis is meant to grow with you! A nice thick plant border that is tall enough will make sure it lasts you for years.