Introduction
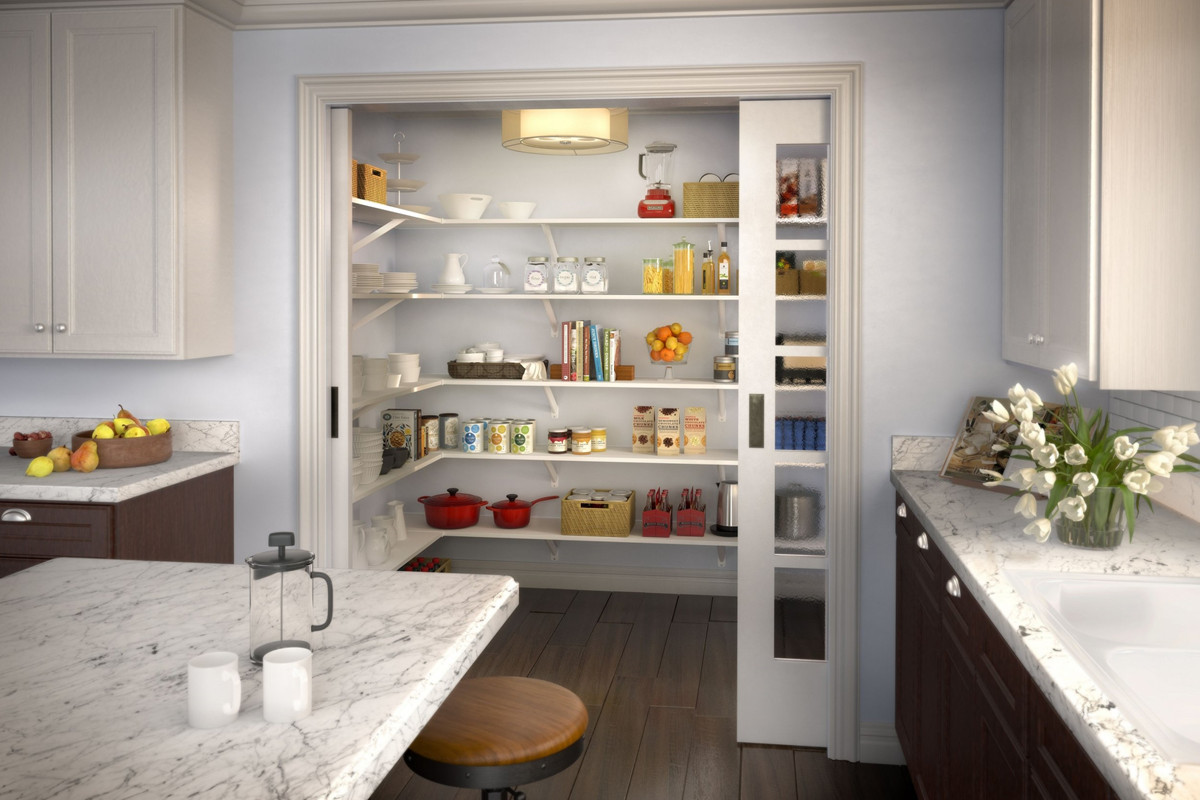
Built-In pantry shelves refer to those shelves on a kitchen wall that are built into the walls, with no visible “shelves”. They are also known as “depth shelves”, “in-ceiling shelving”, and simply “slider shelves”.
The Following Are The Steps How To Make Built-In Pantry Shelves;
Step 1:
First, remove the existing shelf or backsplash, or build a new wall if you do not have any.
Step 2:
Install the blocking between studs to serve as the upper supports for your pantry shelves. You can buy this wood board at any home improvement store or lumber yard.

Step 3:
Next, measure and mark your stud locations onto your blocking and then attach it to the existing studs with nails. Wood screws work best for this job.
Step 4:
Secure the plywood to the blocking using nails, temporarily. Also, cut out holes for electrical outlets if you have them.
Step 5:
Use a paint roller to apply a layer of primer to the stair stringers. This will protect it from moisture seeping in and causing mold and mildew to grow, which would also create an unpleasant odor in your pantry shelves.
Step 6:
Next, apply a single coat of paint to your pantry shelves. I suggest using a semi-gloss white color. The color you choose is simply your personal preference. Just make sure the color you chose will match with your other interior design elements in the kitchen.

Step 7:
After the paint dries, remove the temporary blocking and secure it securely to the walls using large staples or small nails at all stud locations. Screws are preferable, but staples are sufficient. Before you install the plywood make sure to remove the dust and debris from the wall behind it. Then, with a screwdriver and a power drill, drive in some screws around the perimeter of the plywood to secure it in place. Take your time doing this so you do not damage the surface of your walls.
Step 8:
Now, cut out holes for your electrical outlets and then secure them in place with putty and drywall screws. Next, secure the rest of the plywood to your blocking using nails or screws, whichever you prefer. These are the steps how to make built-in pantry shelves.
Step 9:
After you have finished installing your pantry shelves, you will need to install the cabinet doors and dividers. They should be easy enough to install because they should match those you used before on your cabinets. You can ask a contractor or handyman for help in installing them if you have trouble doing so yourself.
Conclusion
You have completed installing built-in pantry shelves. Now all you need to do is enjoy your newly updated kitchen and make use of these wonderful shelves that come with it.